Versiunea română aici.
The road
Map
Many of the Romanians that go to Austria for ski or other forms of tourism choos to go by car. From Budapest to Vienna you only make about 3h on the highway, and from Bucharest to Budapest a maximum of 12 hours. It takes roughly the same ammount of time by bus.
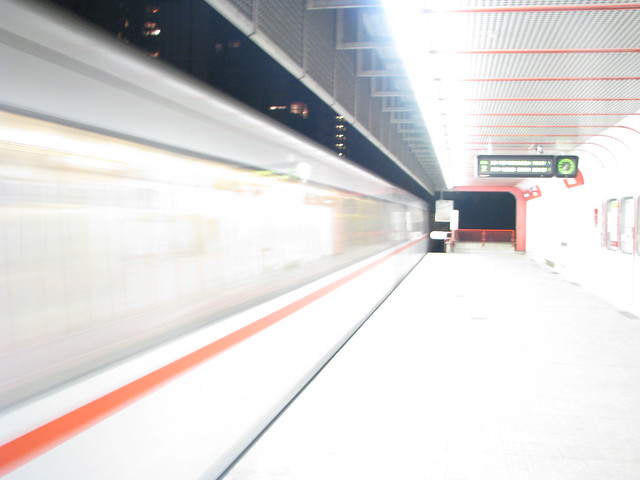
You can also choose the train. The journey takes 20h and you have 3 trains every day: one direct trains and two trains via Budapest.
We chose the third way, the plane. Austrian has 5 daily flights and Tarom 1 or 2. That means you will find decent prices even with a few days before the flight. The flight time is 1h45 – less than the ground checks (as you know, airlines recommend arriving at the airport 2h before the flight).
Even if the trip is a little long by car or train, the diversity is a good thing, earning the route a good score.
[rating:4.5/5]
Accommodation
Vienna has a huge diversity of hotels and even more flats you can rent. In past visits here I chose low-cost hotels near the railway station, but this time, we rented an apartment from govienna.net, one of the two from Quellenstrasse.
The apartment has scores pretty much OK on the Internet, but for us it was a disappointment. The building was in the Turkish neighborhood, but there were no issues except on the New Year’s Eve, when people were still throwing firecrackers at 3 or 4 A.M. when we returned from the city.
The exterior of the building looked decent, but the stairs were in really bad shape and the apartment had a weird smell. There was enough furniture for 4 people, but there were some weird stuff, like the window above the entrance door or the toilet which was separate from the bathroom.
[rating:3.5/5]
What to see
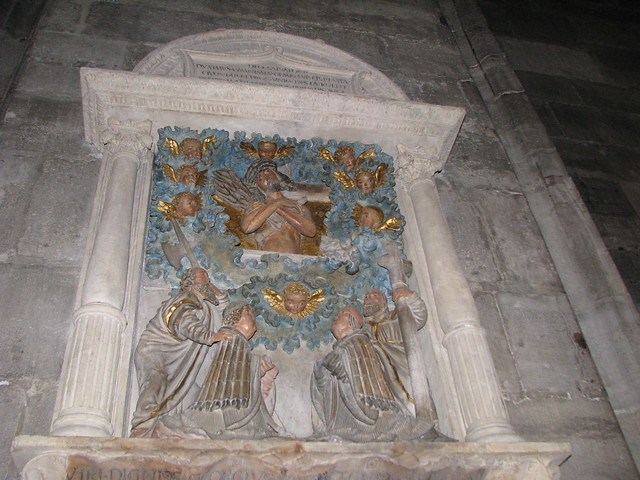
St. Stephan’s Cathedral
Stephansdom is The Cathedral in Vienna. There are other churched in town, but this is by far the most interesting and probably the biggest.
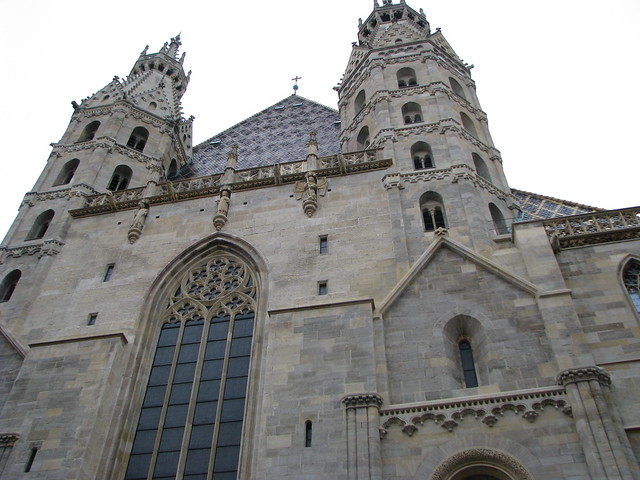
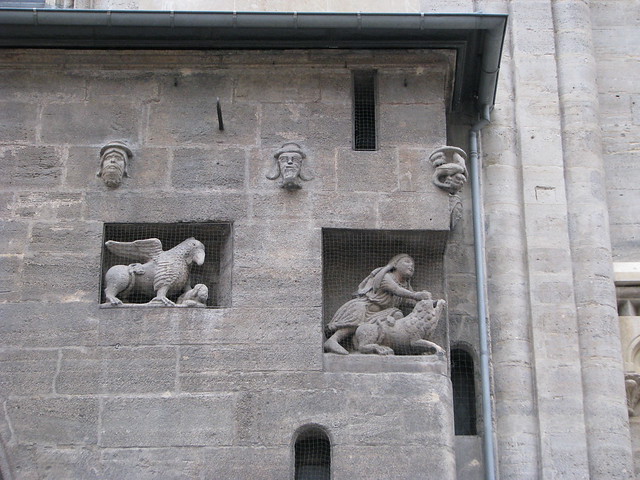
The entrance is free and so is photography (but without flash). The interior seemd a little darker than other cathedrals from Europe, probably due to the fact that we went in winter. Still, this was helping to underline the beauty of the stained-glass windows.
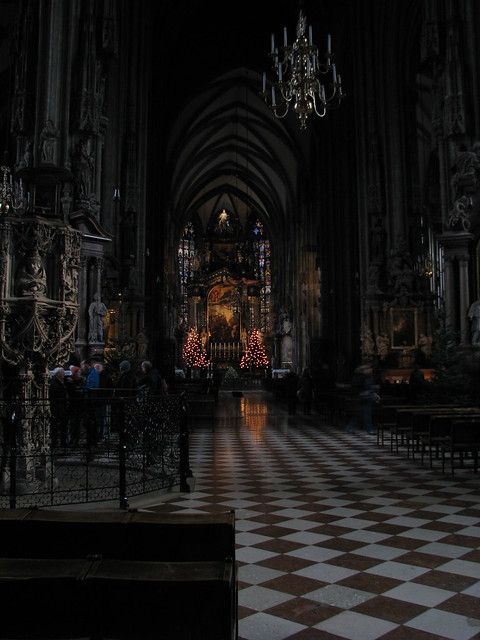
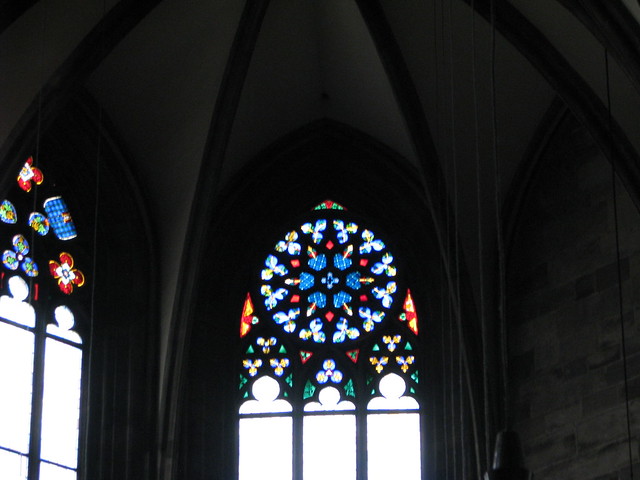
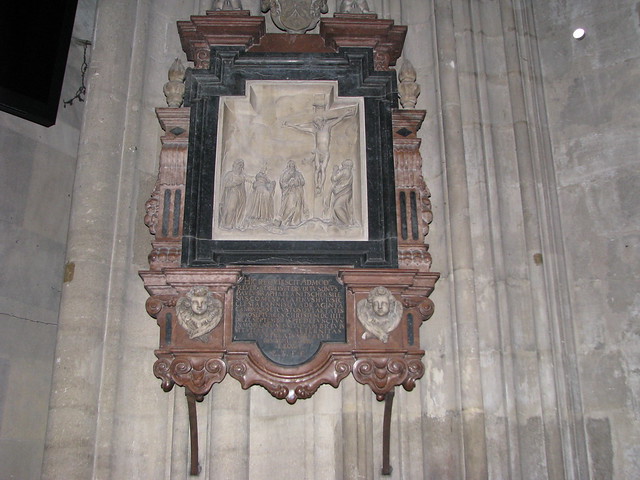
Some details from the interior:
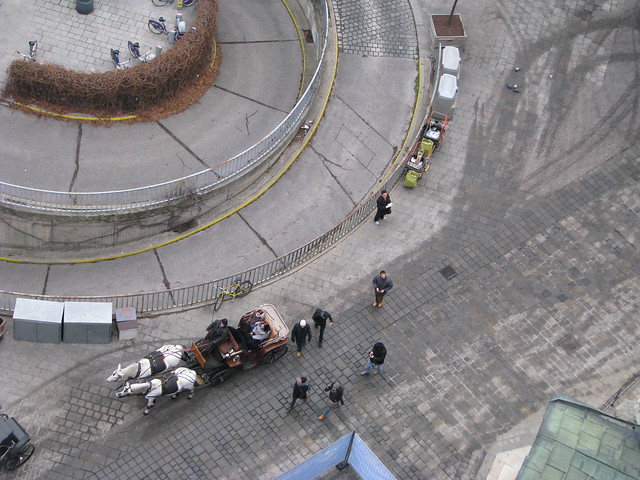
After finishing with the interior of the cathedral, we decided to pay up 4€ to clinb the south tower. Although the panorama is interesting, the horses from the place look much more interesting 🙂
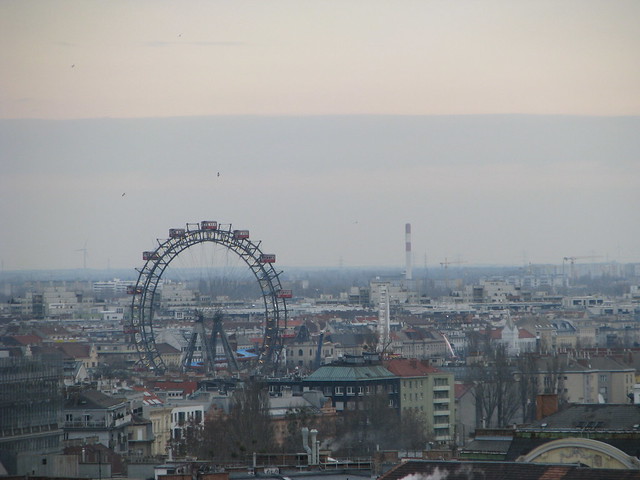
Talking about the panorama, let’s look to the Prater…
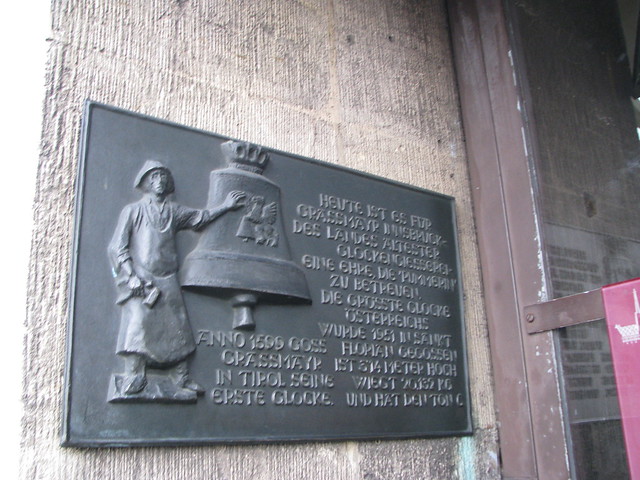
…and then to the bells of the cathedral (can anyone translate the inscription?).
After descending from the tower, we stick around the cathedral waiting for noon. Why? We wanted to see the Anker clock.
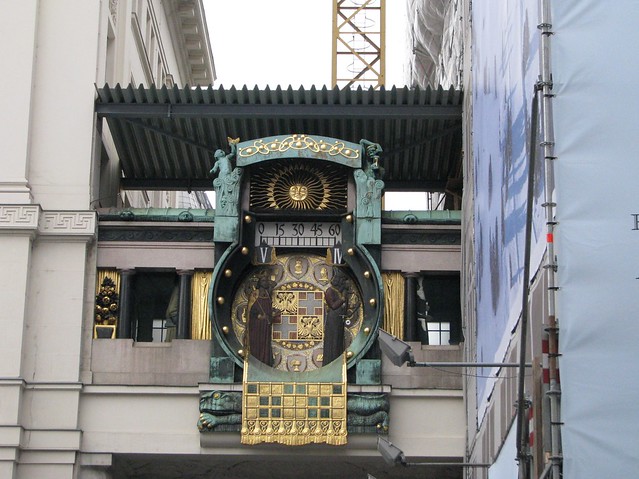
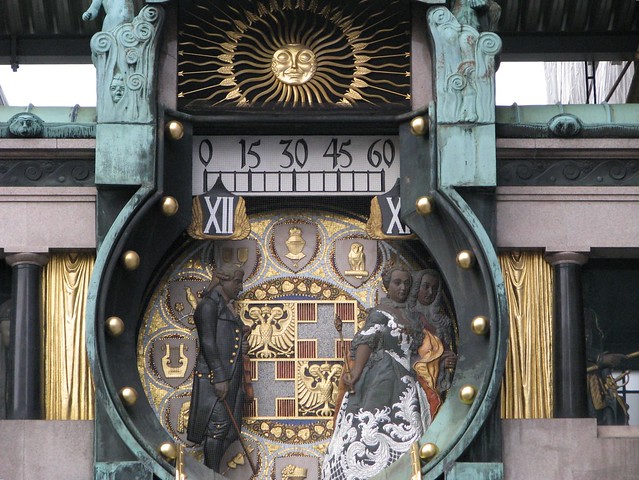
The Anker clock
It was built between 1911-1917 and it is both a figurine clock, but also a bridge between the two parts of the Anker building. The 12 figurines move at 1/hour, except at noon, when they all go through the window in 10-15 minutes.
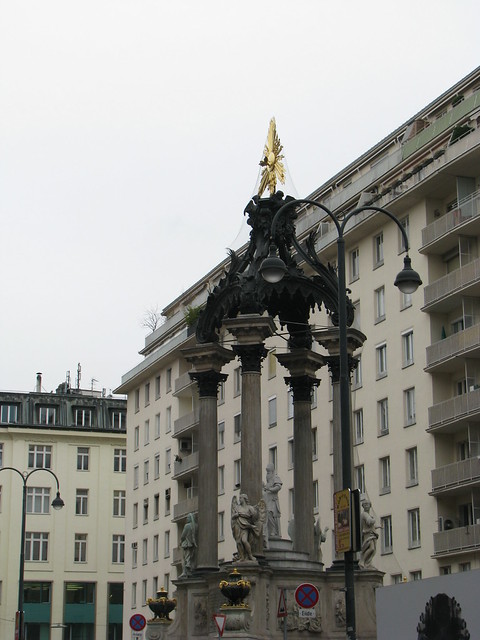
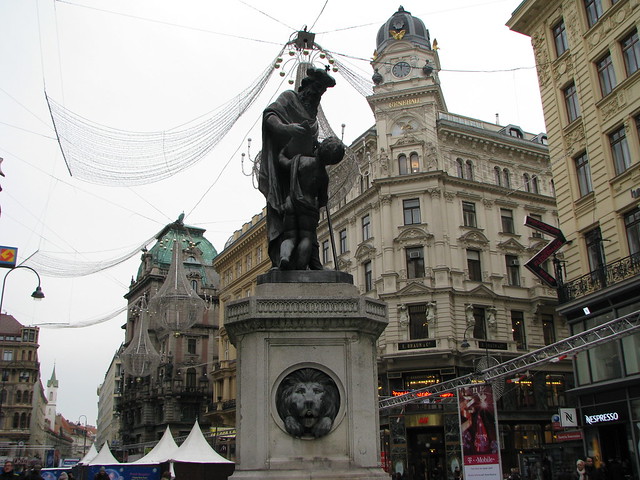
We then went on for a stroll downtown, admiring the different monuments of the city.
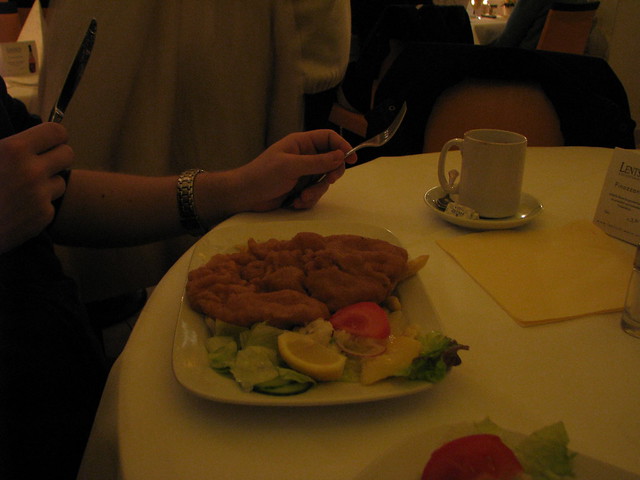
For lunch, we couldn’t miss the famous Wienerschnitzel:
Haus des Meeres Vivarium
Although recently returned from the Asia trip , where we saw a lot of zoos of all kinds, we thought it couldn’t hurt to compare them with the European zoos.
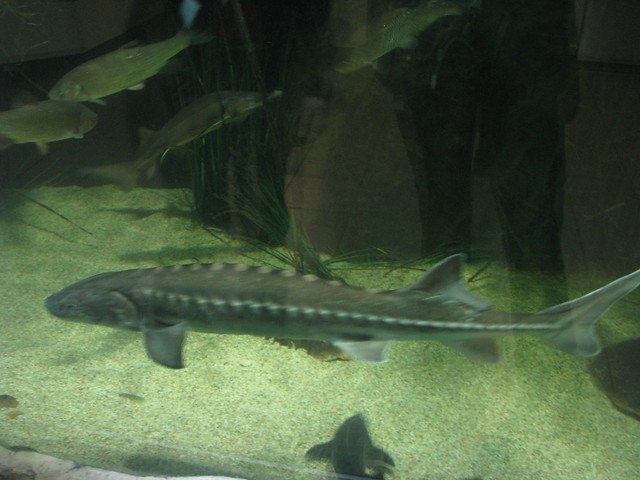
We weren’t going to visit the actual Vienna zoo untill the last day of our trip. Until then, we went for an evening visit to the Hous of the seas, a huge aquarium spreading on 7 floors.
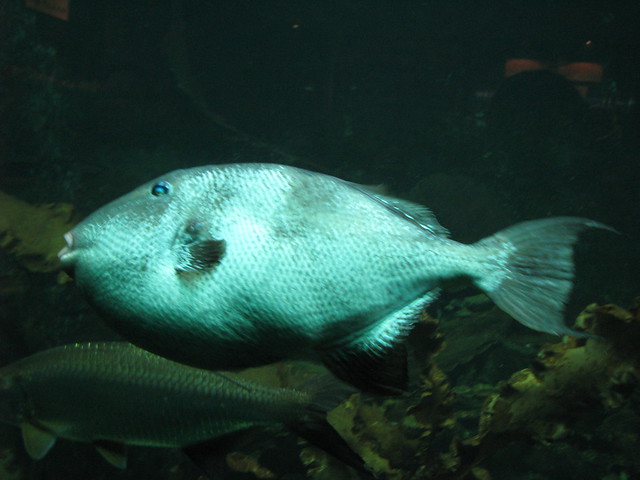
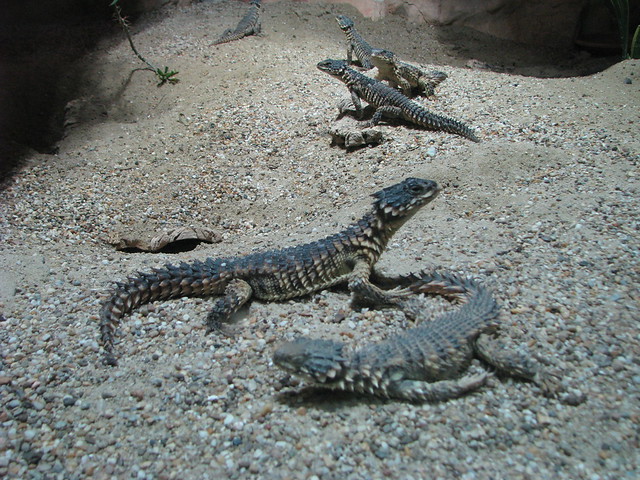
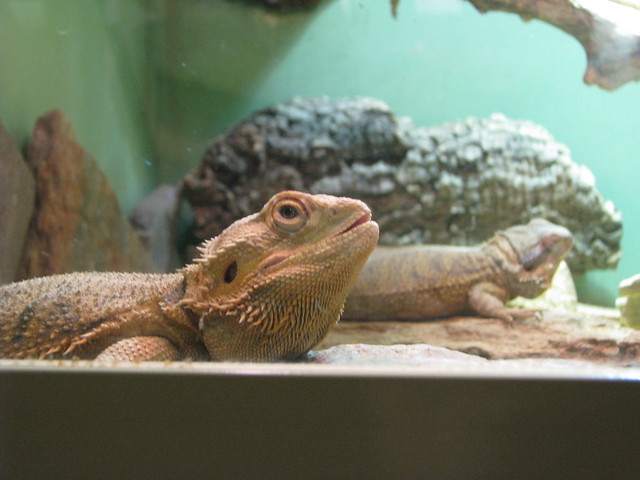
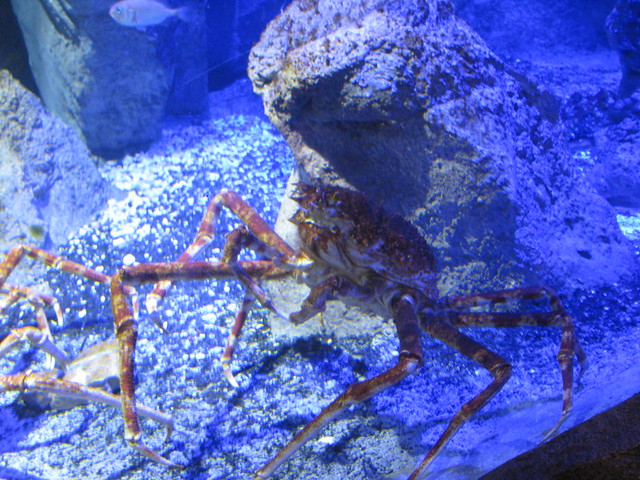
As a matter of fact, they were not only hosting marine animals, but also species one would see in the desert or the jungle. Unfortunately the name of most of the species have slipped my mind.
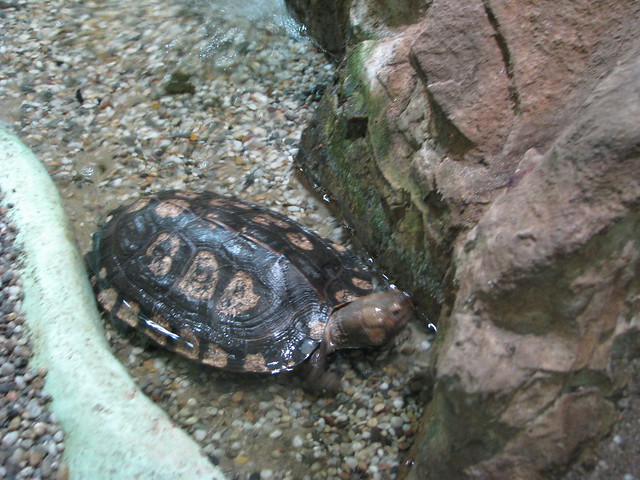
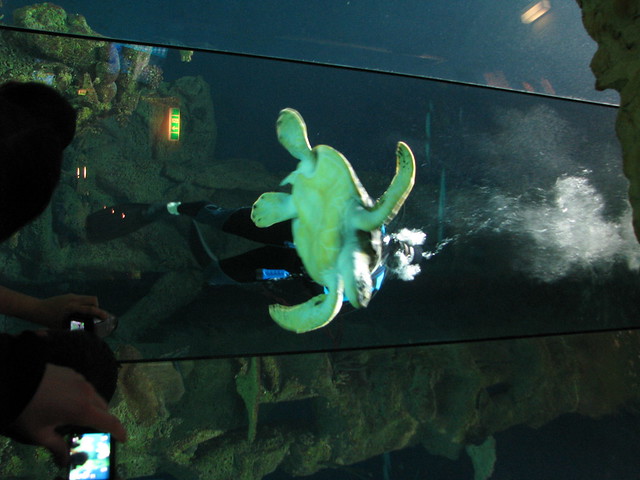
They had all kind of turtles, from the small ones like the one below to the huge, 100-kilos and 100-years-living ones.

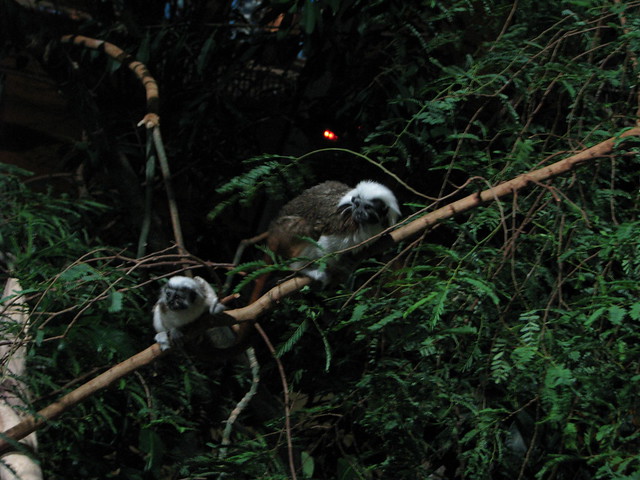
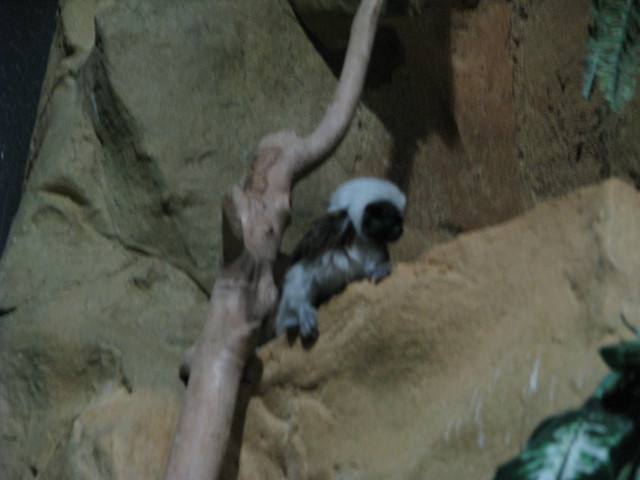
The primates had their own artificial jungle spreading on 3 floors on one side of the building. Impressive!
Big turles…
The view from the roof.
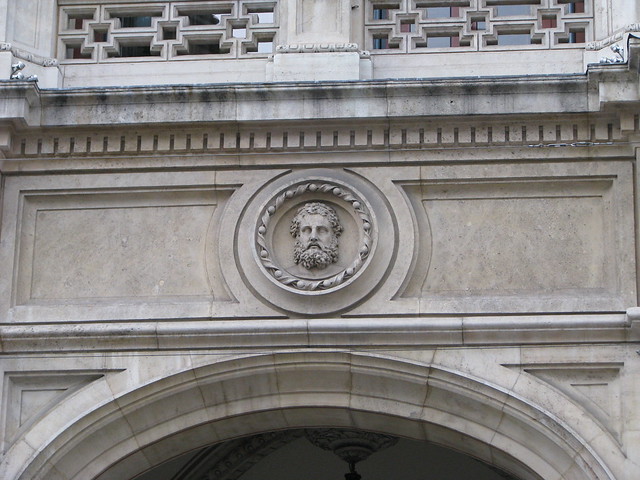
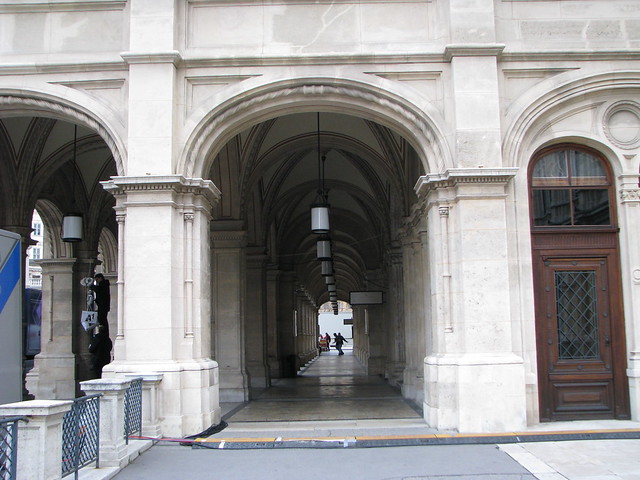
The Opera
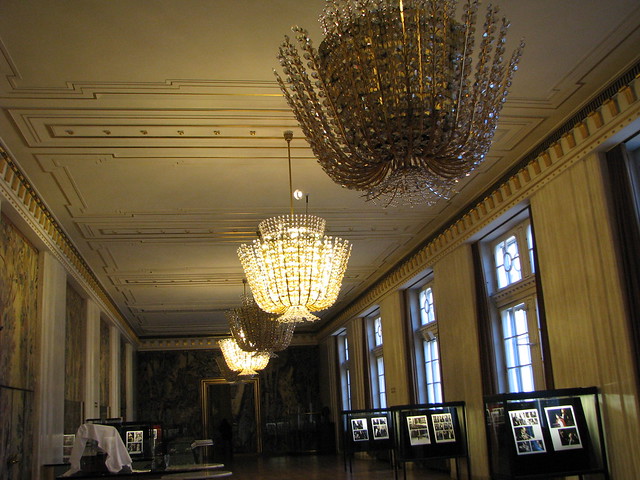
The Imperial Opera is another one of the buildings that every touristic guide recommends. The size is not really impressive, but the architectural details make up for that.

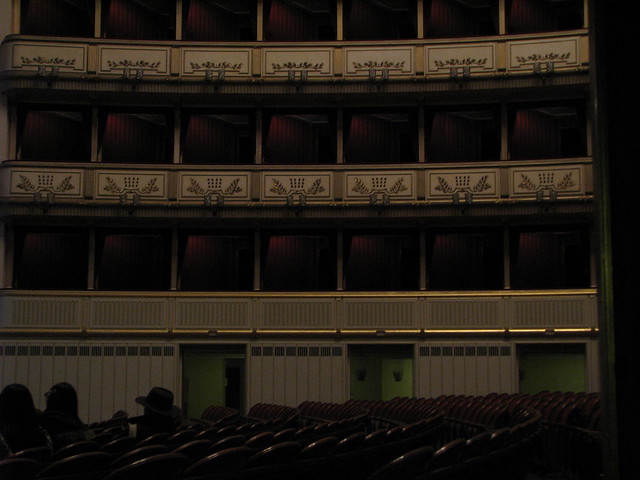
Interior
The really interesting part is the visit inside. The guided visits start around noon every dai, take about an hour and cost 6.5€ for the adults. The guide is avalable in multiple language, including, of course, English.
We started with the main hall. Note the 3 rows of loges. The first thing that attracted our attention was the scene: fortunately there were no rehearsals (hard on the 31st of December), so we would have full access to the backstage.
Detail of the concert hall.
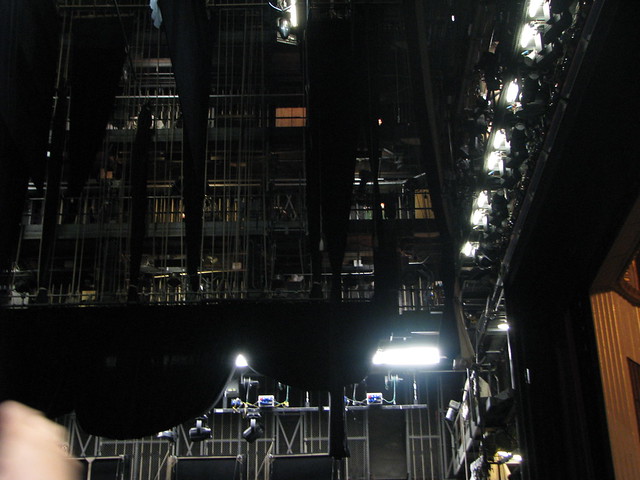
My mom used to tell me that the really cool part of a theater is the stage, but I didn’t believe her. I changed my mind when I arrived on the Vienna Opera stage.
Imagine 5 floors of scaffolding, pulleys and ropes, all with a precise role in the movement of the stage elements. It was like being in a huge building site, the only thing missing being the workers on scaffolding whistling at the ladies below. 🙂
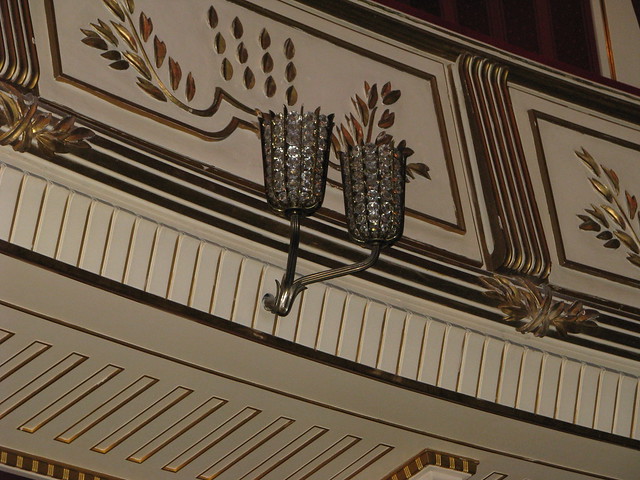
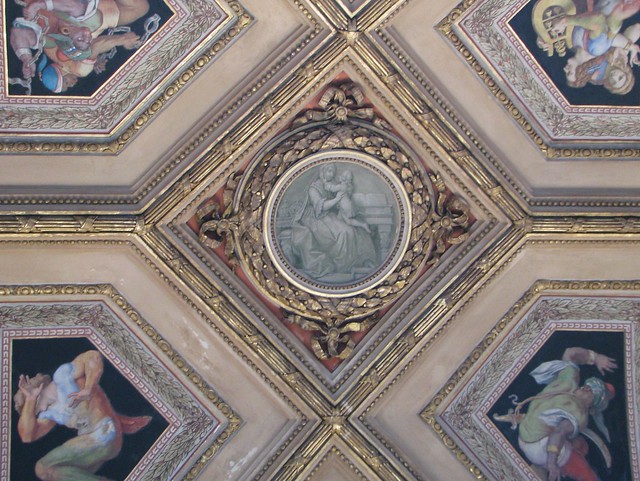
The rest of the buildng was not bad either, with ceilings comparable with the most beutiful palaces. Perhaps because the opera was one of the favorite pastimes of nobles from past centuries?
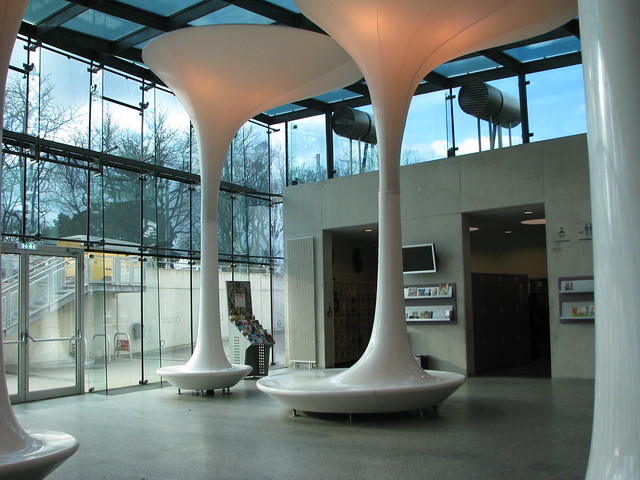
The technical museum
As beautiful as old buildings may be, I still prefer technical stuff (professional bias, probably). I was very happy that the group I was with agreed to visit the Technical Museum. Ironically, it was also hosted in a huge Hapsburg palace, but with an entrance made of steel and glass.
Right after the entrance there was an area dedicated to interactive experiments meant to explain some simple physical fenomena. Unfortunately I was too busy playing so I took no pictures, but I should mention that this section had the same size as the whole Bucharest technical Museum.
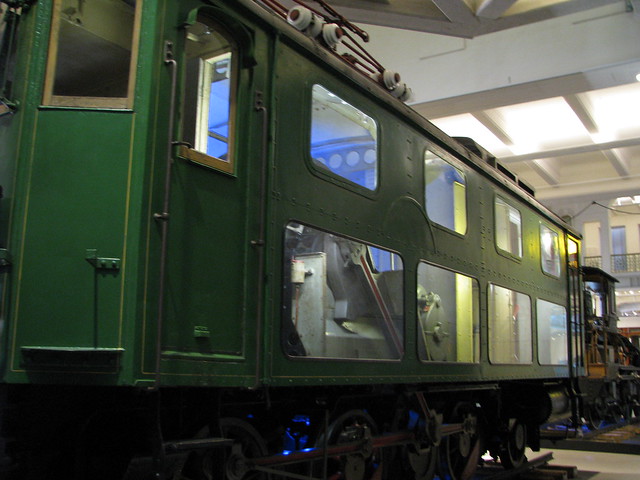
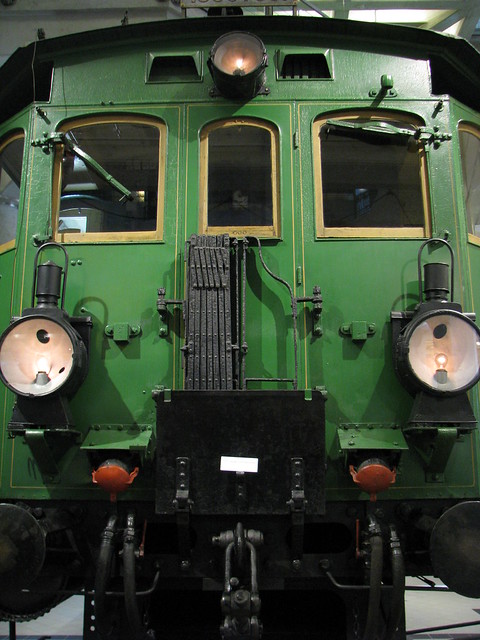
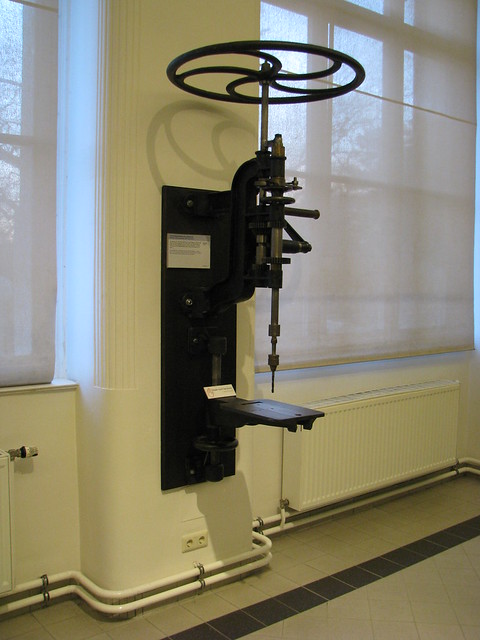
We then went to the railway section. Unlike other technical museums I’ve seen, in Vienna the locomotives were not just shown, but they were cut open and illuminated in order to illustrate the various components.

The image below shows that Romania is much better off than 100 years ago: at the time we barely had a few steam locomotives, while Austria already had electric locomotives in service.
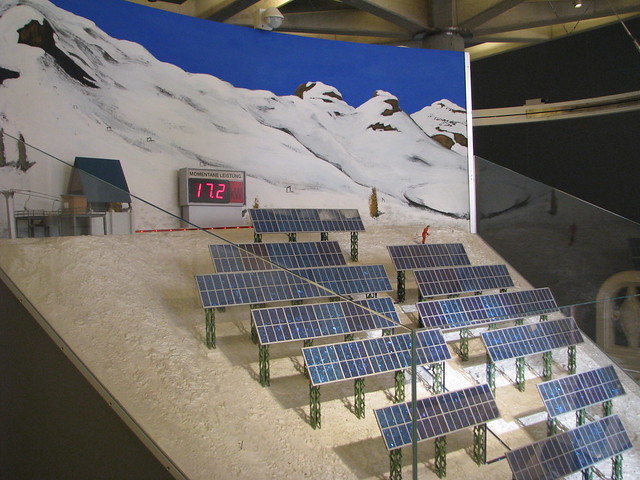
One of the „hands-on” exhibits: a miniature solar park fueled by a lamp illustrated the energy you could produce.
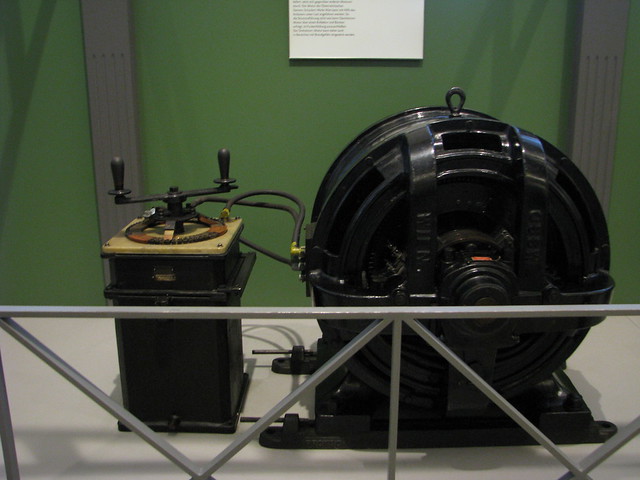
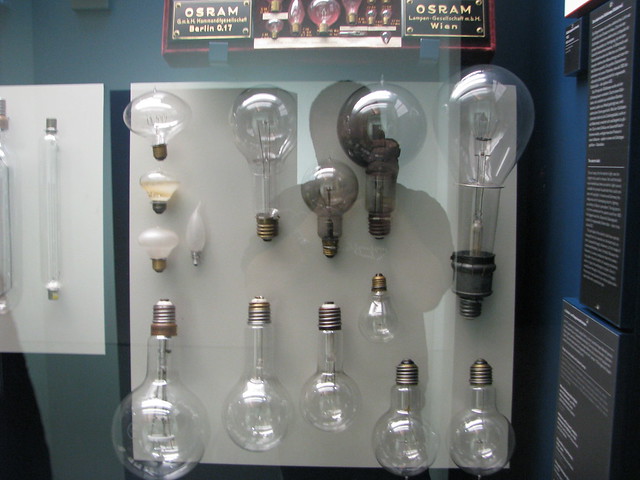
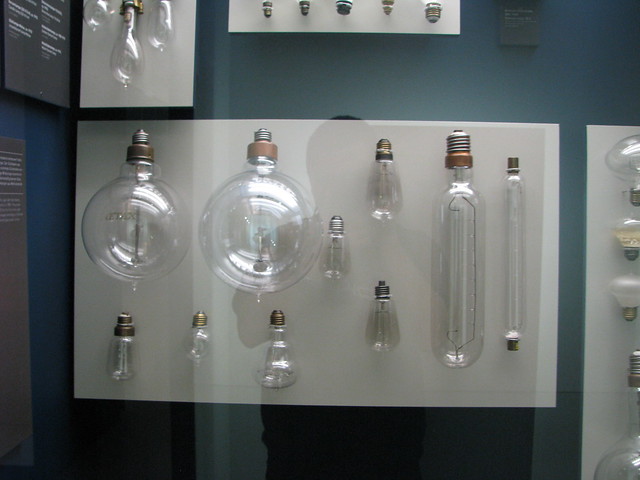
Followed the factory and industrial products’ section.
These bulbs are light-years away from LEDs 😀
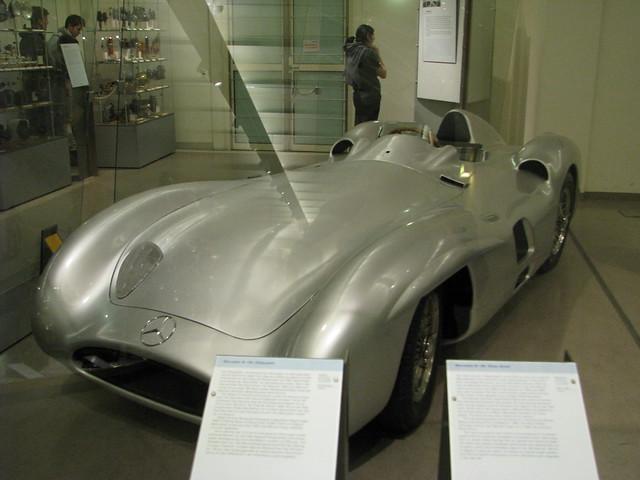
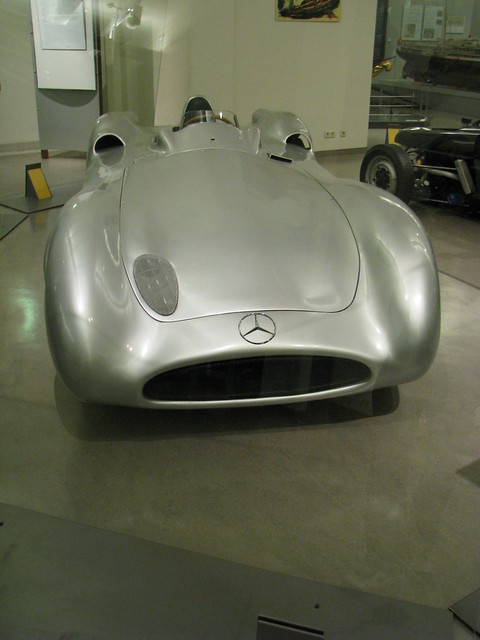
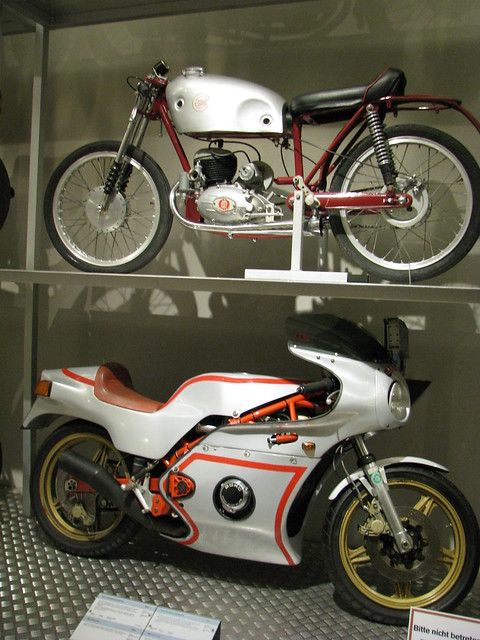
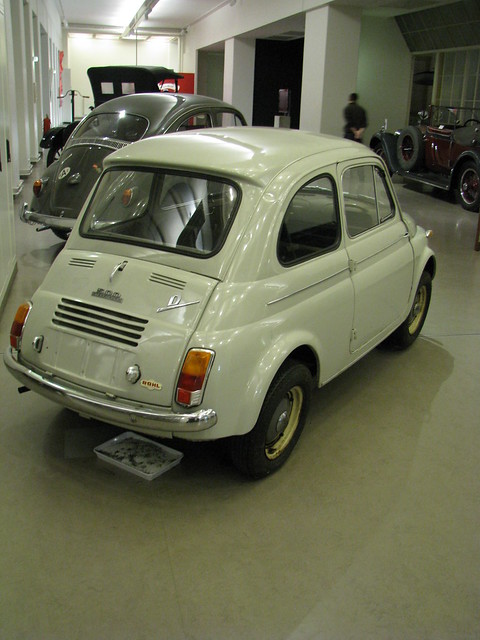
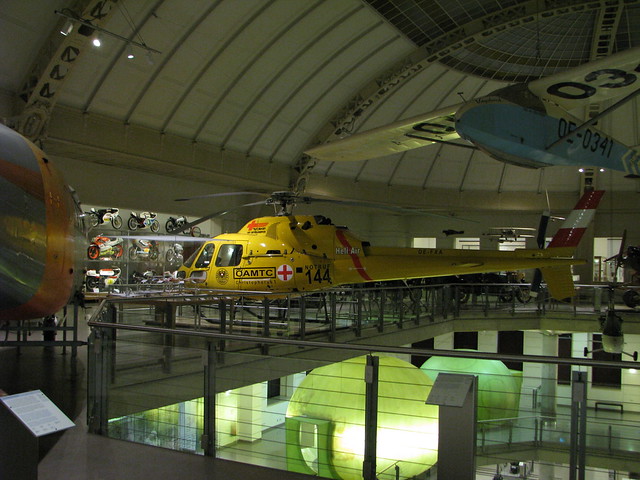
The last floor hosted the plane and car exhibition. Unfortunately, due to the lack of time, we went really fast through that floor.
We still saw some Steyrs…
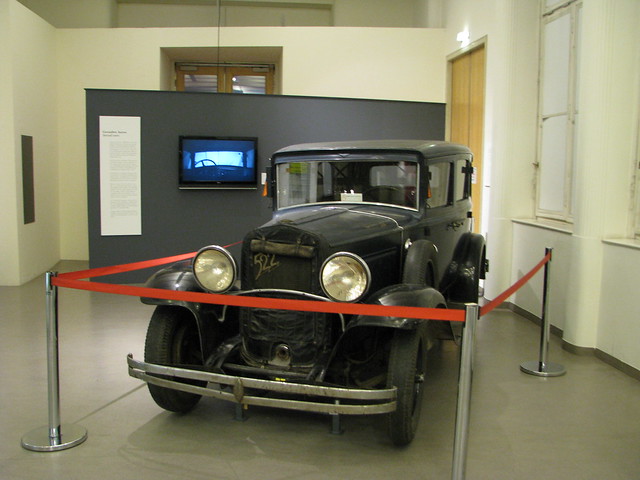
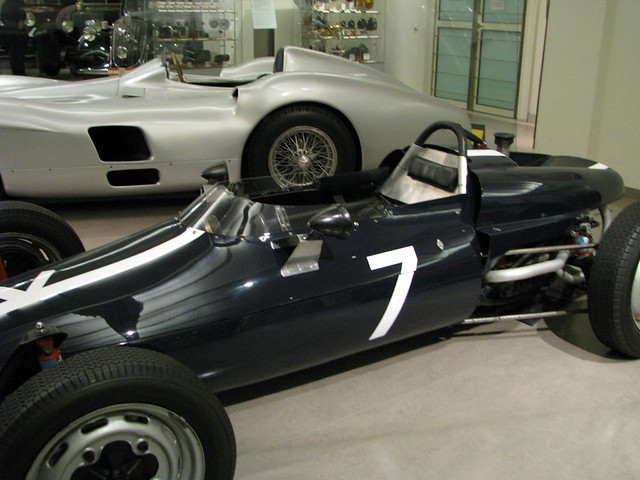
…a Mercedes racecar (I think it was produces also by Steyr-Daimler)…
… and a beetle (I don’t remember the producer, but it seems another Steyr)

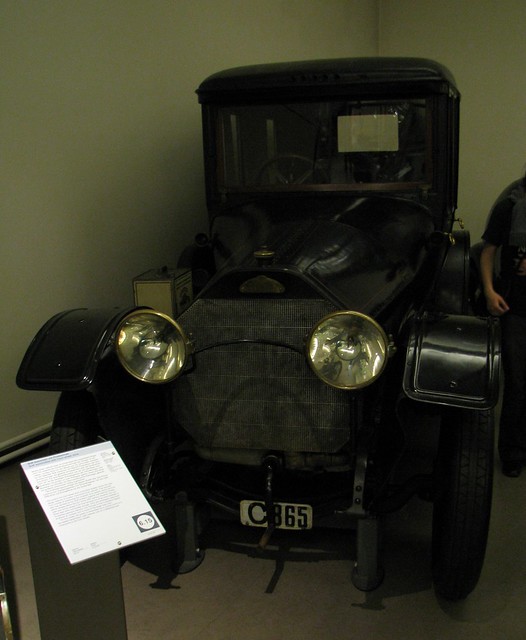
Below we have a Gräf și a few angines, all manufactured in Austria.
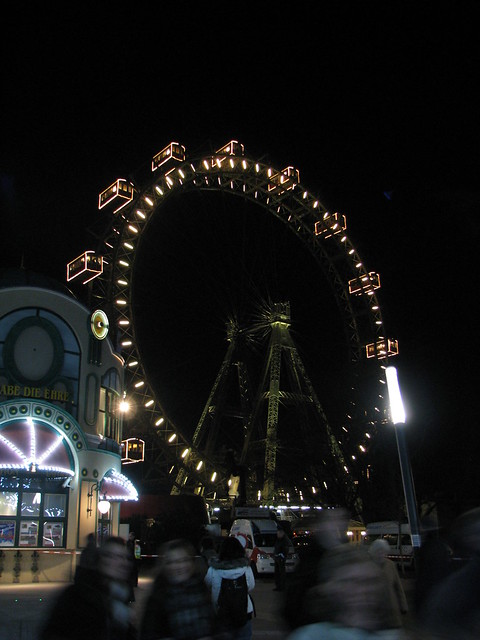
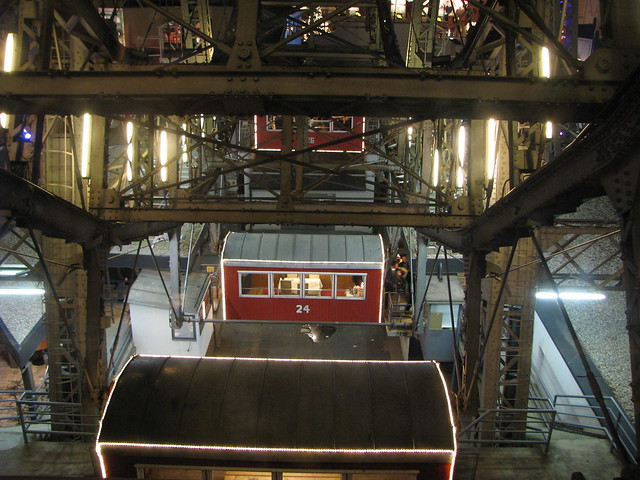
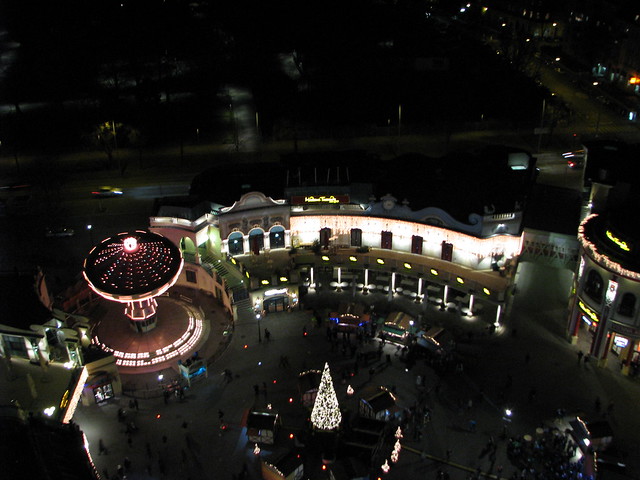
Prater
I don’t think the Praterul needs an introduction. In case you haven’t heard of it, you can start exploring from the Wikipedia article.
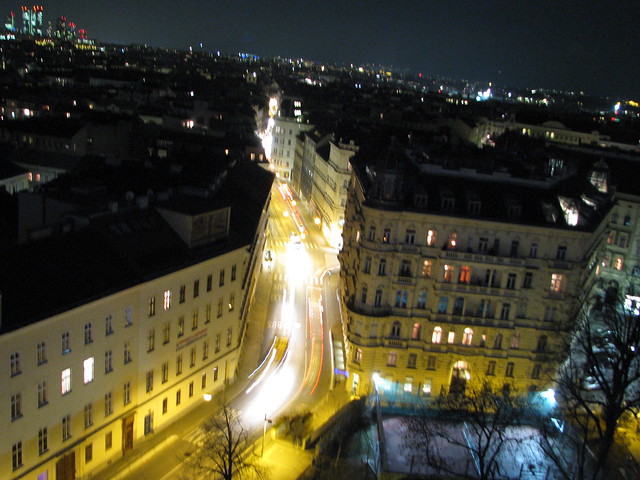
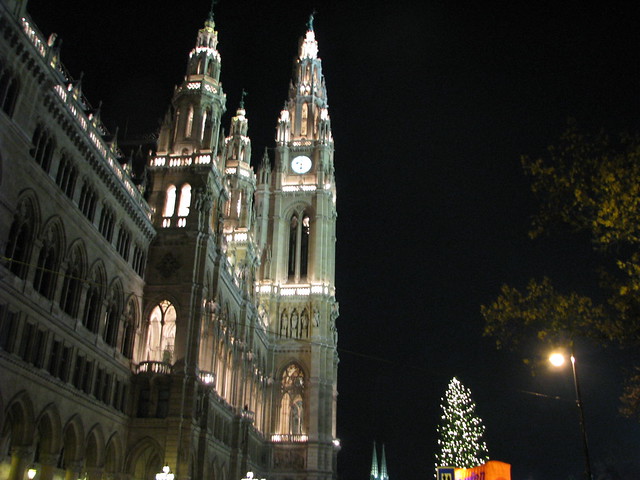
The City Hall
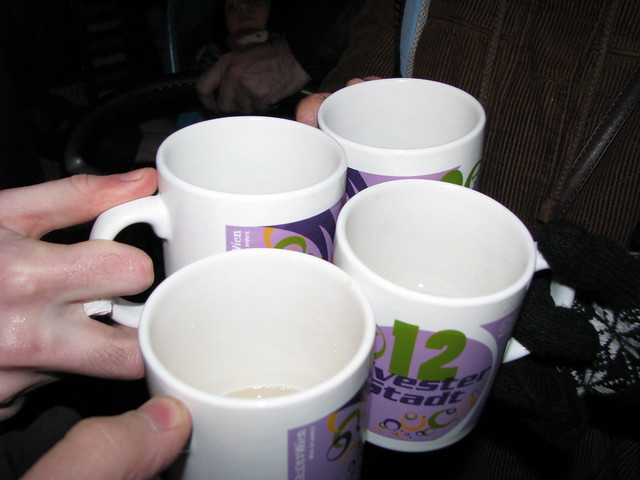
For the New Year’s Eve we went to the park in front of the city hall. I’m sorry I haven’t had the chance to visit the interior, but if you’re interested, you can find information about guided tours on the website.

Happy new year!
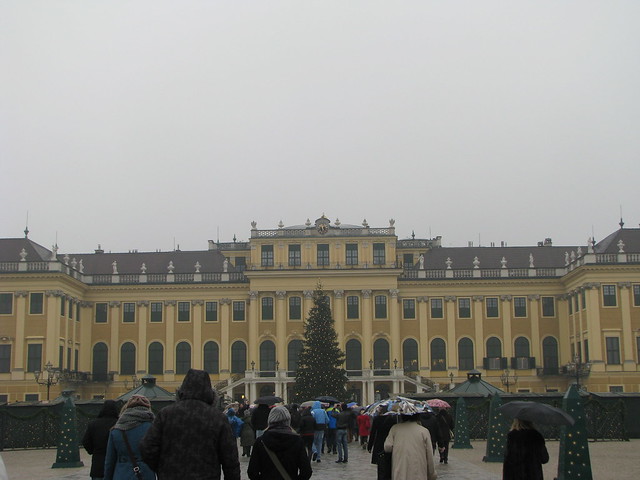
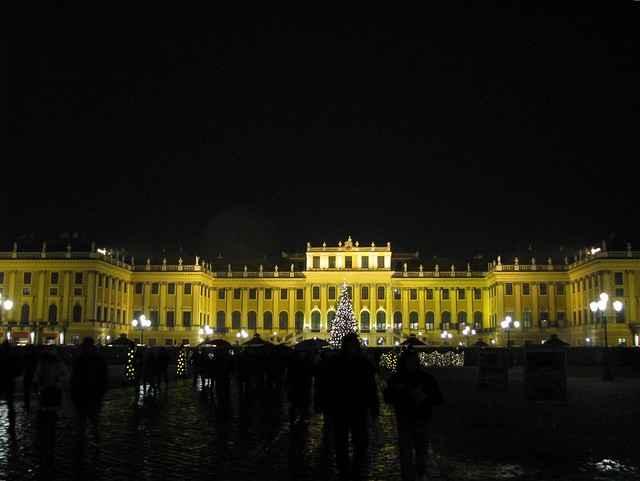
Schonbrunn
The last day was dedicated to Schonbrunn, including the park and zoo. Although the winter views are much less impressive than the palace in a sunny day, I still liked it better than Versailles, which apparently (I’m not 100% convinced) is the original inspiration for this palace.
Unfortunately, photos were forbidden in the palace, so I only have a few outside shots.
The picture below is in fact from the Zoo, but the building was in the same style as all the other buildings from the gardens.

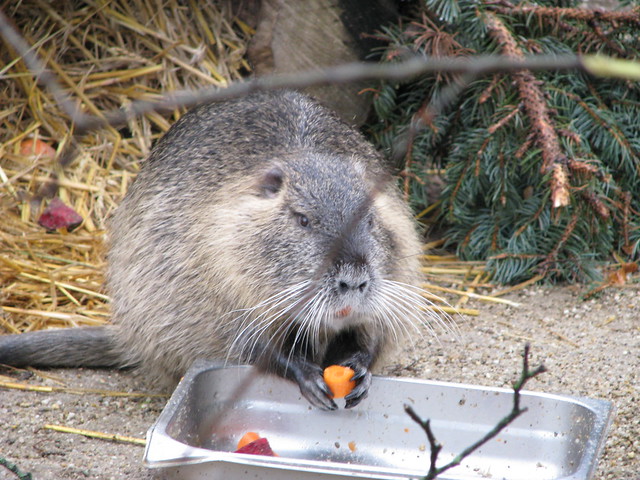
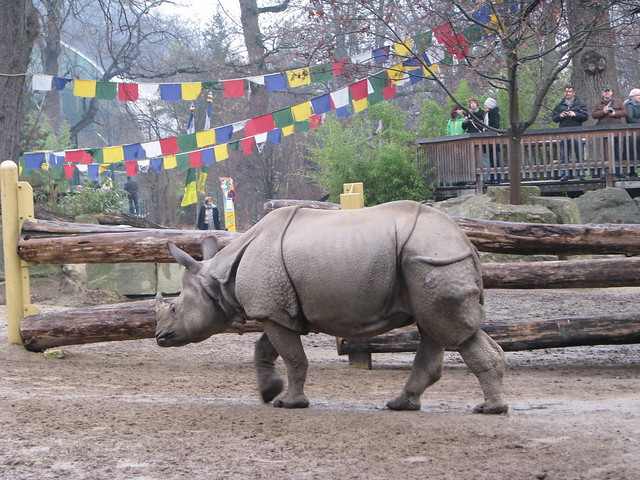
The Vienna Zoo
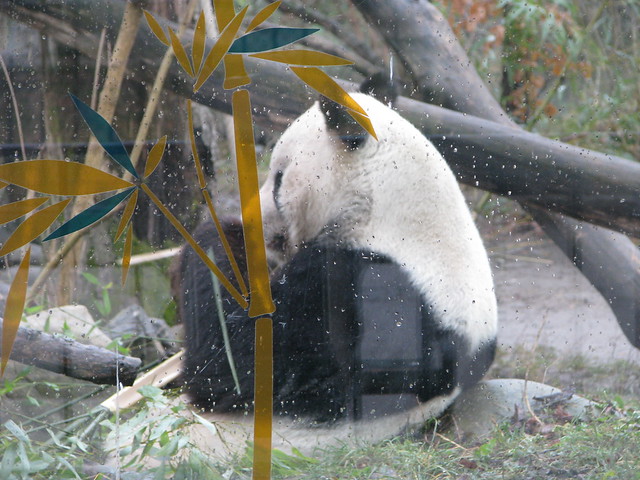
The Vienna Zoo is the oldest zoo in the world that is still functional (established in 1752). It hosts over 4600 animals from 480 species, including pandas and other endangered species.
In the late 80s it almost went bankrupt, but it was „privatized” (actually, a company owned by the city was created to administer the zoo) and with a smart private manager, it was saved. Sounds a lot like what is happening to some Romanian companies, expect for the „saved” part…

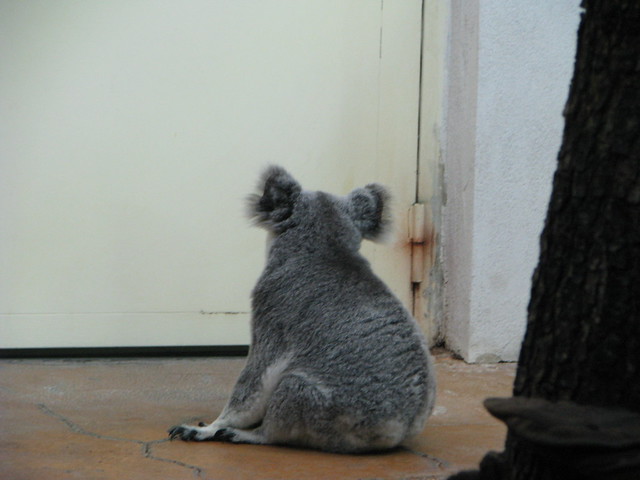
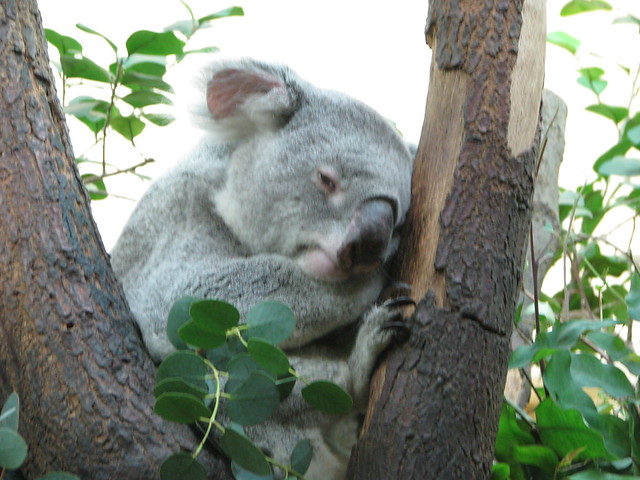
It was the first time we saw a Koala, even if we had hunted it throughout Asia.
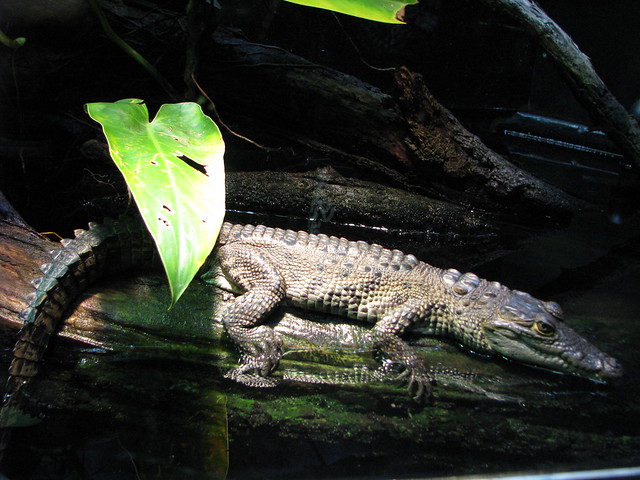
Apparently not all marine animals were at Haus des Meeres.
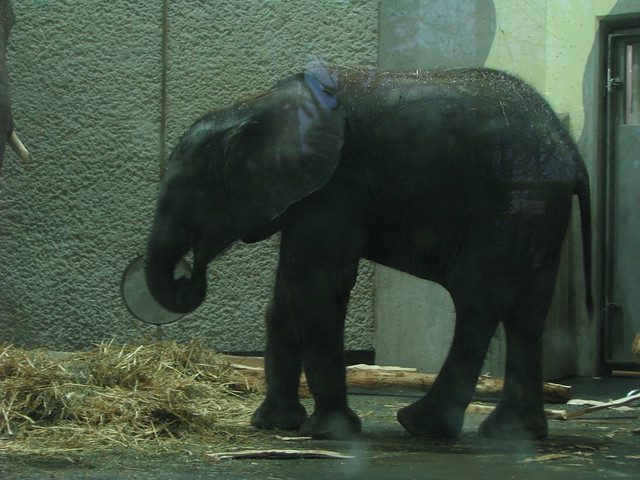
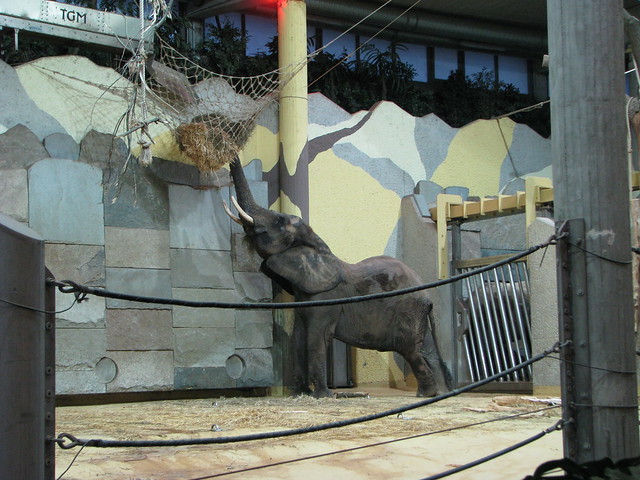
The elephants were a little thin, but not as sad as the one from Bucharest (when it was still alive).
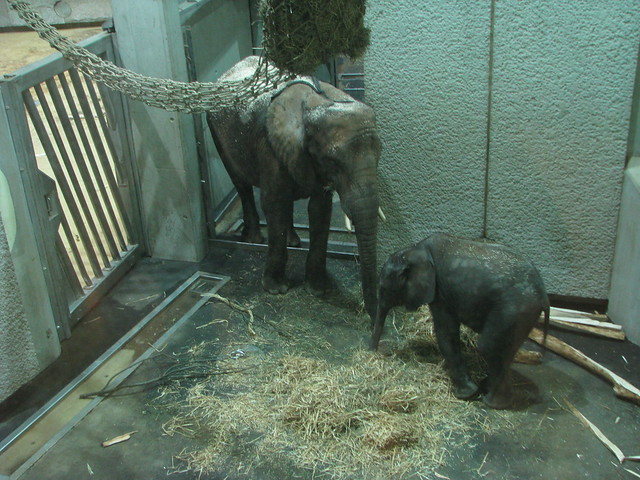
[rating:4.5/5]
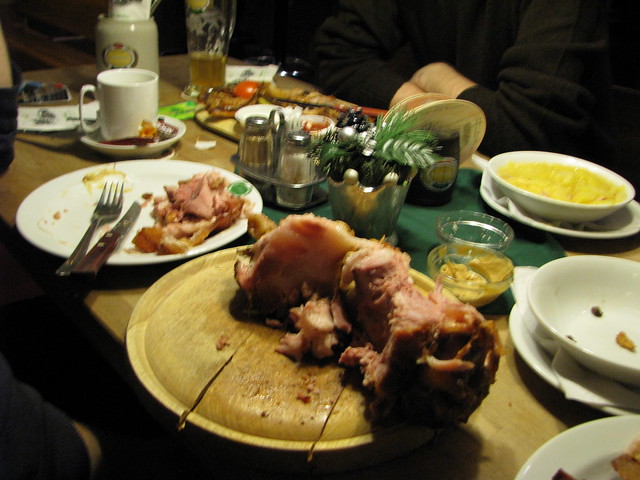
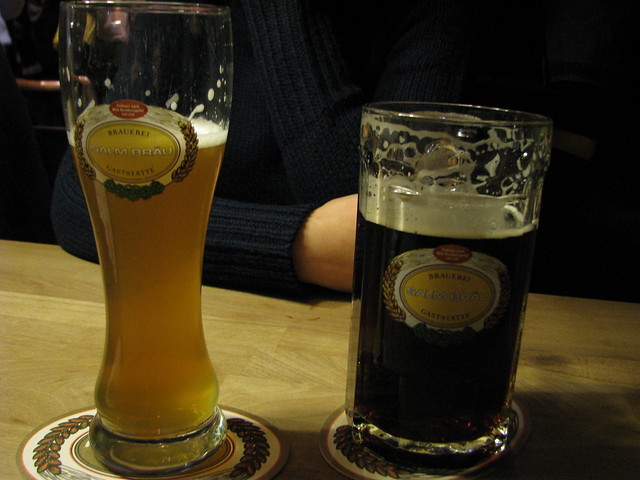
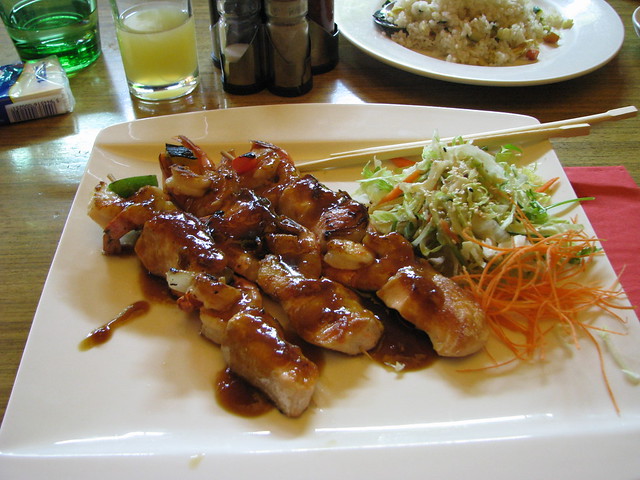
Food
You can try pork chops with beer, some ribs or even Chinese food. In this trip we trusted the recommendations found on the Interned ad we did not regret it – even if some restaurants are true food factoreis, with clients coming and going like on the assembly line, they don’t give up quality and keep the prices decent.
Alternatives
Any City Break in Europe will be exiting if you’re going there for the first time – just find a cheap plane ticket and go for it. Closer to Bucharest you have Budapest or Bratislava. If taking a plane, go for Prague, Warsaw or even Lyon and London.
[rating:overall]
Links